Posted on

Whimsy Row by Row Quilt

Whimsy Row by Row Quilt

Edna sewed a beautiful quilt for granddaughter’s first birthday.  She used the Whimsy Row by Row quilt pattern by Fresh Water Designs for EE Schenck Co.

We bought the pattern and fabric at Sew Much Fun in Columbus, GA, and worked diligently to finish it in time for the party!

The fabric is called “Whimsy” and includes these inspirational quotes:

Take Time to Breathe!

Be Curious. Explore!

Create Whimsy in Your Life!

Find Joy in Living!

Wonder About Possibilities!

The colors are so fresh and delightful. I truly fell in love with the design and colors as we worked.  We used the swirl fabric on the back and a similar swirl pattern for quilting. Blue Crab Quilt Company in Richmond did the longarm quilting for us. They did a fantastic job – I am sure we will use them again soon.

Here is a close up of the front and back:

Whimsy closeup  Whimsy back

And here Sweet Grandaughter  is inspecting her birthday present!

Whimsy birthday

Posted on

LADYBUGS & DAISIES Tutu and Hair Bow

Ladybugs & Daises Tutu and Hair Bow

Granddaughter is turning 1! So – we are having a birthday party next weekend with a LADYBUGS & DAISIES theme! We are busily crafting our way to the party this week.

Tonight I finished a red and black tutu and a hair bow for our little bug! I made a hair bow but since our little bug doesn’t have much hair…the bow will attach to a red sequined elastic headband. We chose a ribbon that has black dots on a red background on one side, and red dots on a back background on the other. Very cool!

I used black tulle, black nylon net, and red tulle for the tutu. I cut strips and wrap-tied them onto a piece of black elastic. The tulle looks very dainty and the nylon net makes it all stand out very nicely. When I cut the fabric, I started out with strips that were way too long and ended up re-doing a good part of the tutu. Our little bug is just a LITTLE bug and so this shortened tutu should be about right. I alternated between the three fabrics to give it some depth – black tulle, black net, red tulle, black tulle, black net, red tulle, etc.

Leftover tulle, net, and ribbon became a hair bow. We bought the sequinned elastic band at Hobby Lobby (one of my favorite places to get lost in). I made sure that the tulle and net stick up from under the ribbon. At Hobby Lobby, we also bought some black leggings and a t-top, but we are not sure if she will wear those or something else under the tutu.

Granddaughter lives in another state and we can’t wait to go see her and let her try on her new tutu and hair bow!

Posted on

Spring Forward: Jump on those UFOs

Spring Forward

Today we “Spring Forward” and start Daylight Savings Time. There are simply not enough hours in a regular day, and today we have one hour less!  What projects are you thinking about today? Starting a new quilt? A skirt? A yarn project? Embroidery?

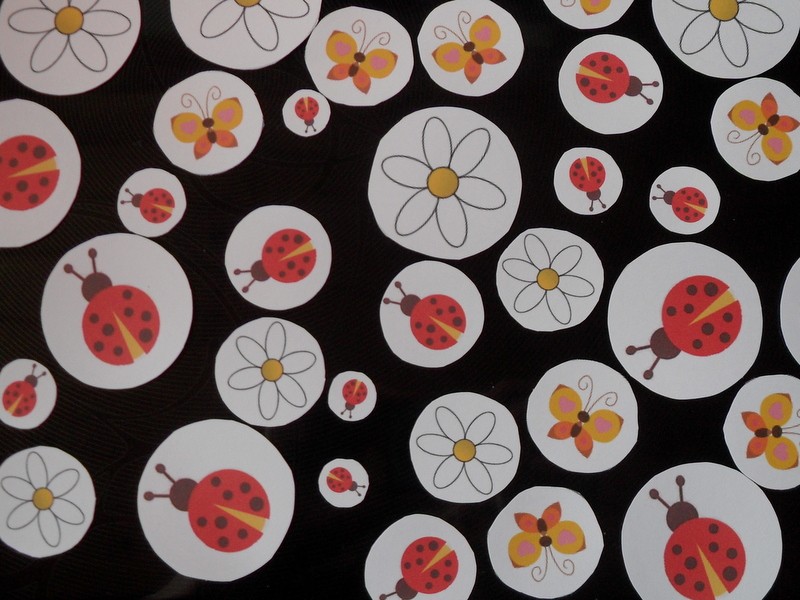
Or perhaps you are thinking about finishing up some of your UFOs (unfinished objects), WISPs (works in slow progress), PIPs (projects in process), PIGS (projects in grocery sacks), AFUFOs (almost finished UFOs), or “the pile” (as husbands tend to call our projects…)? Believe me, all those projects you see in the photo above were once a UFO/WISP/PIP/PIG/AFUFO/part of “the pile” (note – some of them still are…).

Now, I know you have some of these lying around!  We all do. It’s a natural thing to get bored, distracted, or just plain stuck on a project.  Sometimes we need a little motivation to get us moving and today is a great day to forge ahead.

Today, let’s think about “Spring Forward” as a reminder to jump on those projects that are holding us back and making us feel guilty. It feels wonderful to finish a project – what will you finish up today?

“Be like a postage stamp. Stick to one thing until you get there.” -Josh Billings

“Fall seven times, stand up eight.” -Japanese Proverb

“Never, never, never give up.” -Winston Churchill

“You must find a way or make one.” -Hannibal

“Those people blessed with the most talent don’t necessarily outperform everyone else.  It’s the people with follow-through who excel.” -Mary Kay Ash

“Action is the foundational key to all success.” -Pablo Picasso

“Do not dwell in the past, do not dream of the future, concentrate the mind on the present moment.” -Buddha

“We learn by doing.” -Aristotle

“Discipline is the bridge between goals and accomplishments.”  -Jim Rohn

“Do we need more time? Or do we need to be more disciplined with the time we have?” -Kerry Johnson

We can do anything we want if we stick to it long enough.

“What I am looking for is not out there; it is in me.” – Hellen Keller

There are no mistakes, only opportunities.


Posted on

LADYBUGS & DAISIES Litter

Ladybugs & Daisies Bday Litter

Granddaughter is turning 1! So – we are having a birthday party next weekend with a LADYBUGS & DAISIES theme! We are busily crafting our way to the party this week. Today, we made table litter. We used snips from the invitations printed on card stock and cut into circles. These will be so sweet littered on the tables under mason jars with daisies. We will also glue some of the ladybugs to the daisies! If you have daisies you have to have ladybugs!

The party is at a local pizza place and our guests will enjoy pizza and LADYBUGS & DAISIES themed cupcakes. I can’t wait to watch Granddaughter sEaMcRaZy destroy her Smash Cake!

Posted on

Our Abbey Bags

Our Abbey Bags

We decided on using primary colors in polka-dots for our new Sewing Room. For each of our machines, we are sewing matching Table Aprons and Abbey Bags. The polka-dot materials are anchors to our patchwork-quilt theme. So far, we’ve completed “Blue,” “Black,” and “Red” Abbey Bags with plans to make “Green,” “Yellow,” and “Orange.” We’re pretty certain we will be sewing more than six of these….

I just love how they turned out! Of course, “Red” is sEaMcRaZy Edna’s favorite (she just LOVES RED) and my fave is “Blue.” Each thread scrap bag is anchored by a flower pincushion at the top. If you look closely, you can see a little pocket which is the perfect size for our little snipping scissors. And seam rippers, which get a lot of mileage at my house.

We used ground walnut shells for the pincushion stuffing. Honestly, it took me several tries to get the shape just right. At first, I had filled them too much and they looked like footballs. Next, I got them rounder and they looked like softballs. Not cute. At all. There is this little trick to getting them round-ish and flat-ish to look right. I think I finally got the shape right:

[pe2-image src=”http://lh3.ggpht.com/-Woxjs4adxmk/UxFOH1uyekI/AAAAAAAAEgg/bUbEL_gAaS4/s144-c-o/SDC12043.JPG” href=”https://picasaweb.google.com/110956043075394460751/Seamcrazy02#5985651276341475906″ caption=”” type=”image” alt=”SDC12043.JPG” ]

These little cuties sit right beside our sewing machines. They don’t fall off because of the weight of the pincushions with ground walnut shells inside, plus they have a circle of vinyl shelf cover underneath them. I literally took some liner out of one of my kitchen cabinets, cut it up, and glued it to the bottoms!

I confess we are terribly messy seamstresses…putting pins down wherever we happen to take them out of the fabric. So there is this little pile of pins beside every machine. Now, we have our cute little Abbey Bags pincushions for our pins. These are great little additions to our sewing tables!

Posted on

Easy DIY Fabric Pin

DIY Fabric Pin

I sewed a blouse set using some knit red and butterfly/flower material that I picked up at Hancock’s. The red made a cute shell and the butterfly/flower material looks great with black pants. Before I wore my new blouse set for the first time, I went through my jewelry drawer to see if I could find something that matched well. Nothing really captured my eye…so I decided to make a DIY Fabric pin!

Here’s how I did my DIY Fabric Pin: Using pinking sheers and fabric scraps, I cut out 5 petals of red and 5 of butterfly/flower material. I covered a 1-1/2″ Dritz Half Ball Cover Button in red. Then, I sewed the petals in a circle and sewed the covered button on top. Fabric glue came next, with a small circle cut from red material to cover the sewing underneath. A safety pin through the small circle holds it in place on my blouse. The DIY Fabric Pin took about 15 minutes to do and turned out so cute. What do you think?